
 Home
Home
Yield Signs
Take two pot growers and give them both similar equipment and the same strains. Check back after harvest time, and you’ll often see dramatically different results in the final quality of their buds and how they smoke.
While some of the differences may occur due to growing practices and management, much has to do with whether the buds were harvested at peak ripeness, and how they were handled, processed, dried, stored and cured.
Think of a properly ripened cannabis bud like a perfect moment in time—to be patiently waited for and worked toward, then finally captured and preserved. Any experienced toker knows that a well-ripened, -cured and -stored bud will smoke like a masterpiece over the same strain that’s clumsily processed and winds up with qualities more like hay than distinctive cannabis.
Canna Obscura, Courtesy of House of Cultivar
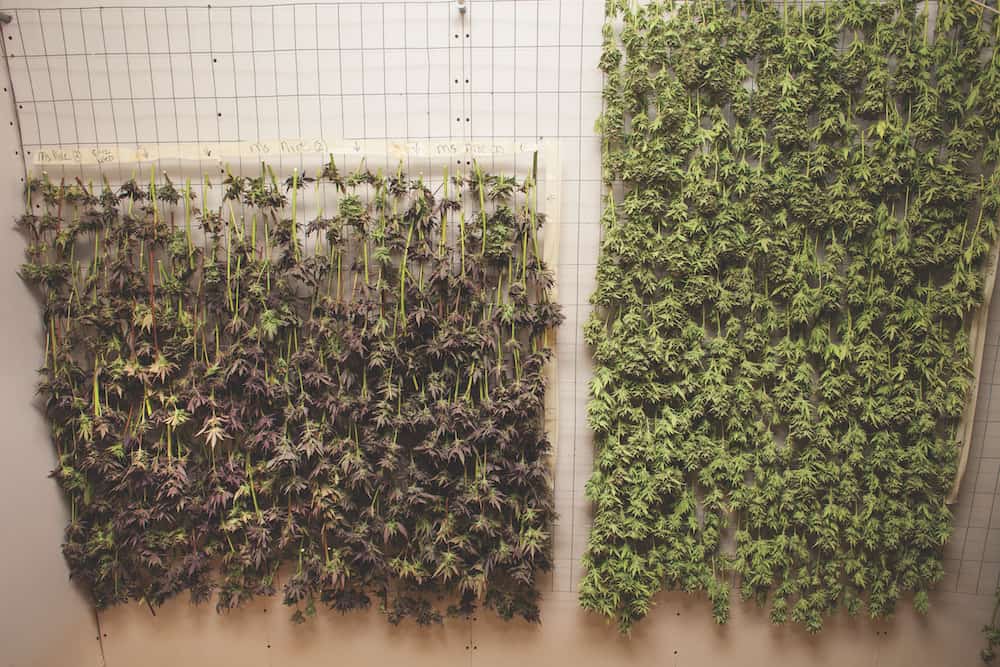
Winding Down the Crop
Tasty buds begin with winding down the crop—rather than killing it on the spot when it comes to harvest time. After buds stop swelling and growing, there is still plenty going on, biologically speaking.
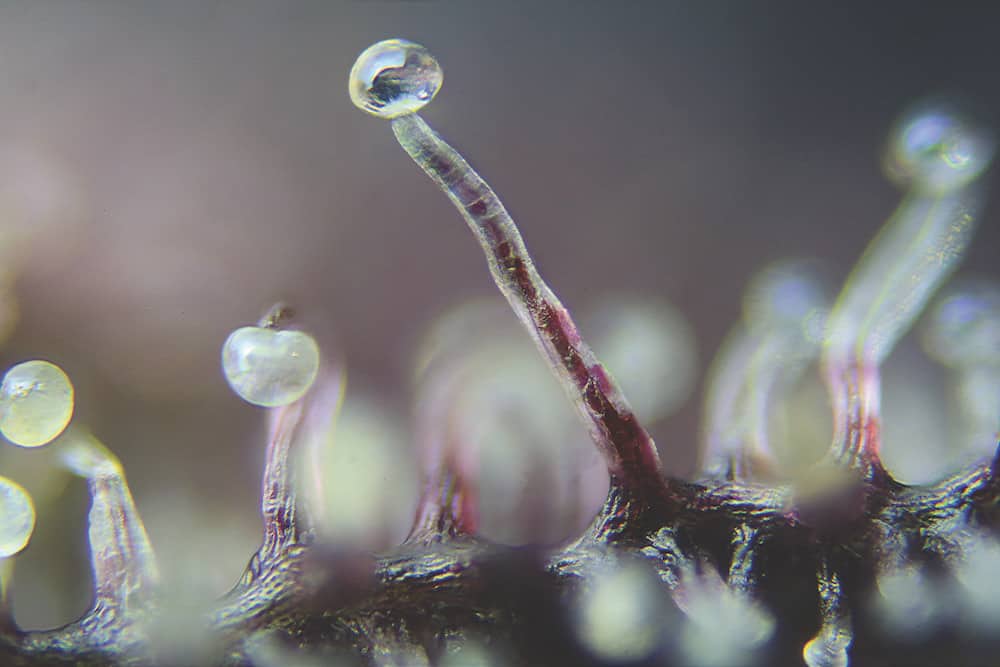
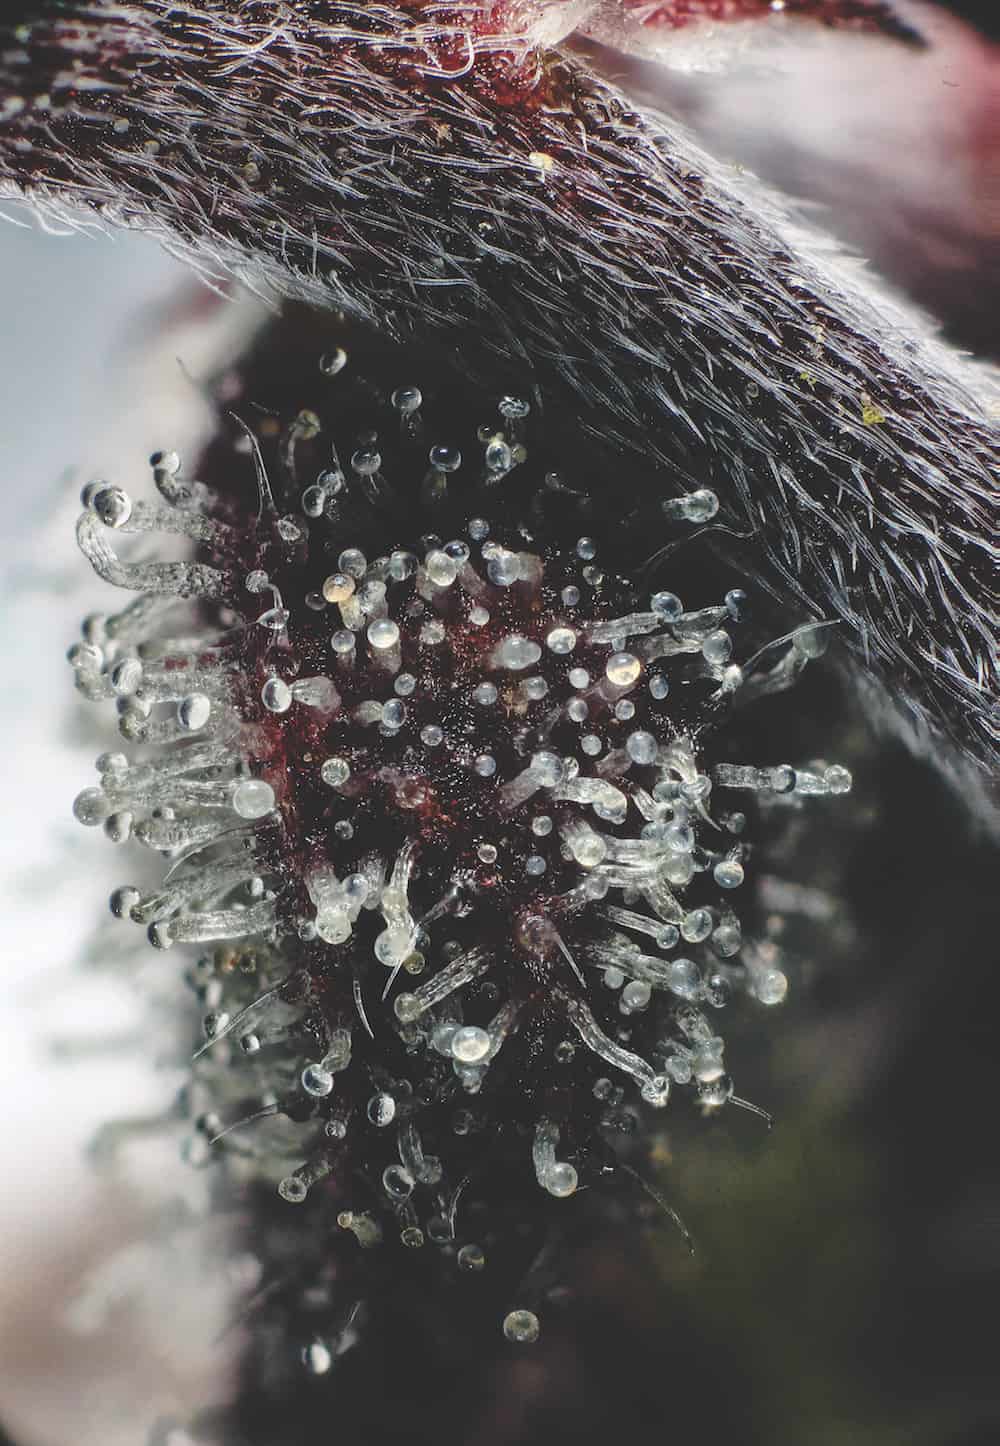
Cannabis plants will spend the final days of their life cycle transferring stored energy into swelling calyxes with a healthy matting of trichomes (the tiny hair-like structures found in abundance on female cannabis flowers).
Trichomes and the resin-filled gland heads they form are your key to identifying peak maturity to determine the optimal time to chop your crop. The process of winding your crop down to mature the buds should start 7-10 days before your anticipated harvest date.
Canna Obscura, Courtesy of House of Cultivar
Cannabis Maturity Triggers
- Lower day-night temperatures—ideally 75°F during light hours and 62-65°F during dark hours.
- Maintain dry air in the growing environment, both during light and dark cycles, i.e., 40-45% RH (relative humidity).
- Reduce or stop using nutrients or fertilizers, especially base fertilizers containing nitrogen.
- Reducing light intensity can promote tighter buds in some strains at this stage, i.e., raise the lights a foot or use your dimmer function.
- Increasing dark hours by decreasing light hours—i.e.,10 hours lights on, 14 hours lights off—can help speed up maturity.
- Remove remaining large fan or water leaves from plants for firmer buds; this will reduce your trim time later too.
David Jewell, Courtesy of House of Cultivar
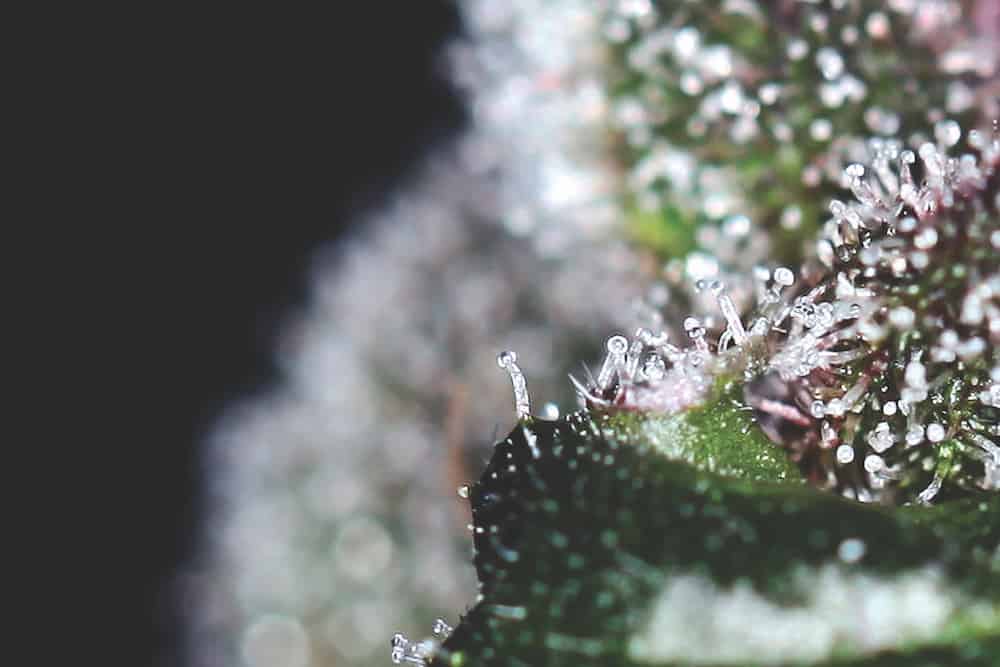
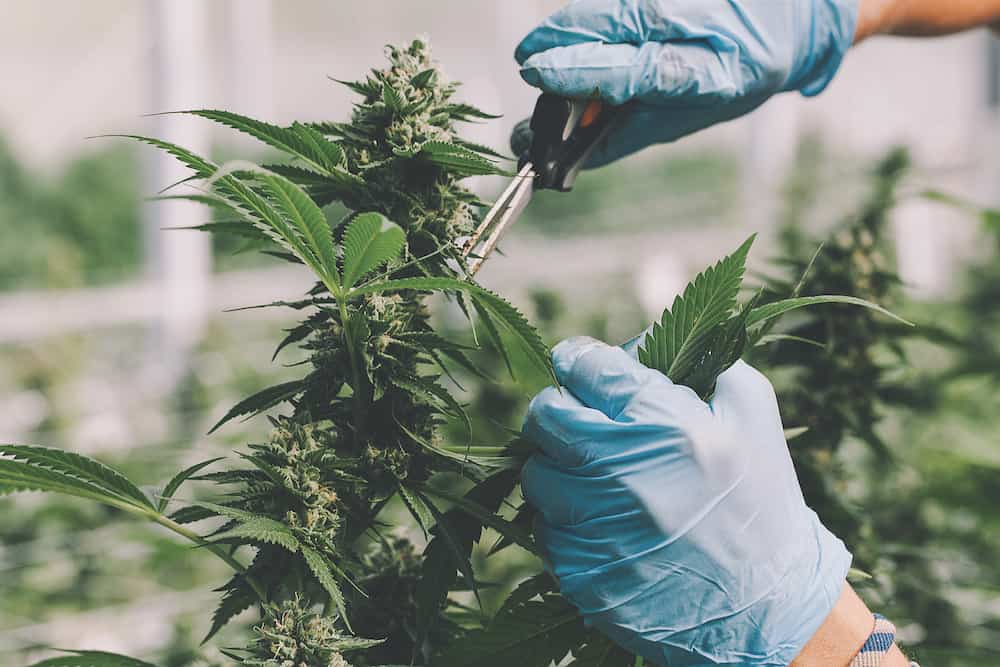
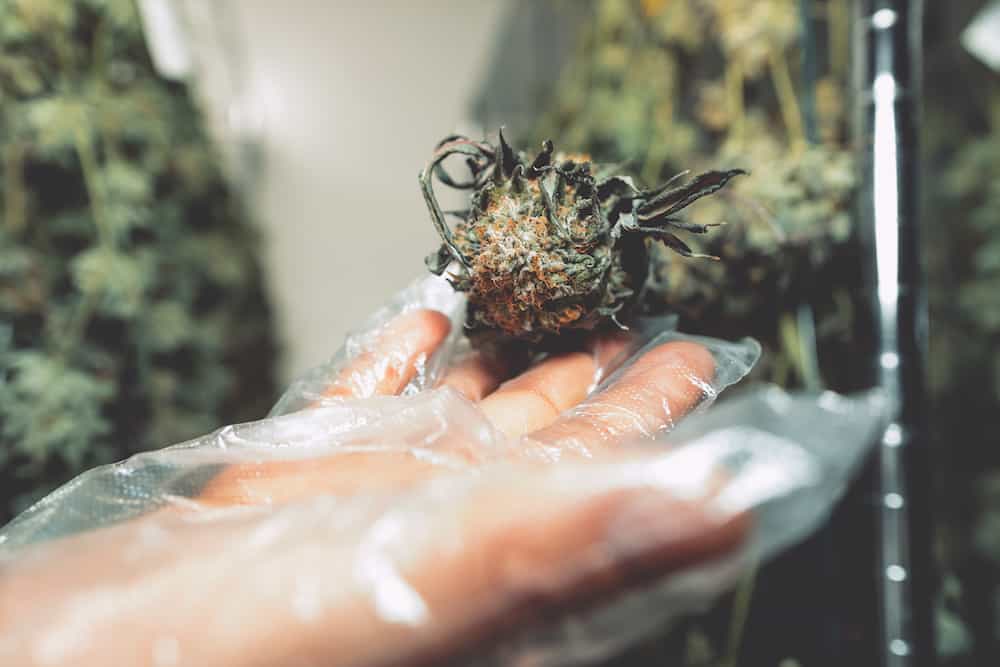
Identifying Peak Maturity and When to Harvest
There’s an old grower’s adage: “Once you think your buds are ready, wait a week.” While patience pays, it’s also possible to let your buds go too long, resulting in a decline in quality. Harvest before senescence, the period after peak maturity when plants start to go downhill.
To capture quality at its finest, look inside the resin-gland heads on top of your trichomes at different heights on different plants in the garden. A magnifying glass works great—as does taking a clear close-up photo and zooming in on the screen for a closer look.
Look to see if the majority of the glands are milky-white and opaque. Less-mature glands will appear clear, and are often not as large. If they’re past their peak, the oil inside will start to turn amber—before the head breaks off altogether.
David Jewell, Courtesy of House of Cultivar
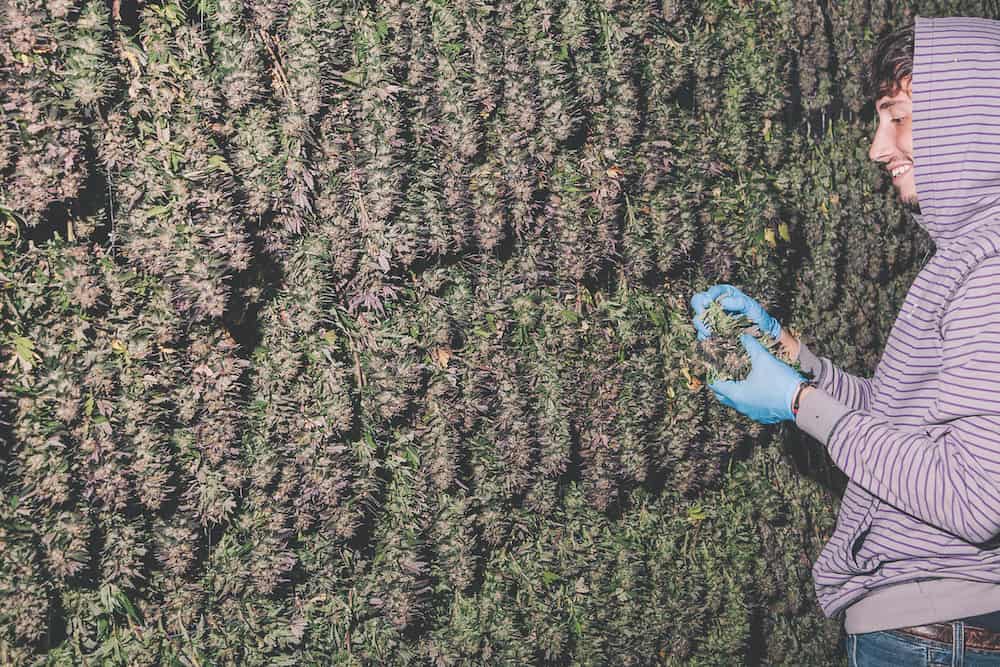
Harvesting: A Well-Planned Attack
As a small-scale hobby grower, you might be able to approach your harvest with some level of ease and relaxation—it’s a rewarding time and it can be therapeutic. For larger harvests, you need the right tools and number of hands on deck to take down and dry your crop.
Harvest Fundamentals
- Five to 10 days before you expect to start cutting down buds, remove all the remaining large fan or water leaves.
- During harvest, will you be hang-drying entire plants or branches, machine-trimming (fresh) buds individually, or hand-trimming for racks and/or hanging? Decide ahead of time, because it will influence your material-handling process and what you need on hand.
- Ensure that your handling, trimming and drying areas are clean, sanitary, and free of obstructions or debris. You don’t want to be running shop vacs after sticky buds are already hanging.
- Make sure you have clean and sanitary bins or totes that are easy to handle. You’ll need some for moving cut branches, capturing trim (small bud leaves are often worth keeping for processing) and handling trimmed buds. Tip: In a pinch, clear and tall 1020 propagation-tray domes make great handling bins.
David Jewell, Courtesy of House of Cultivar
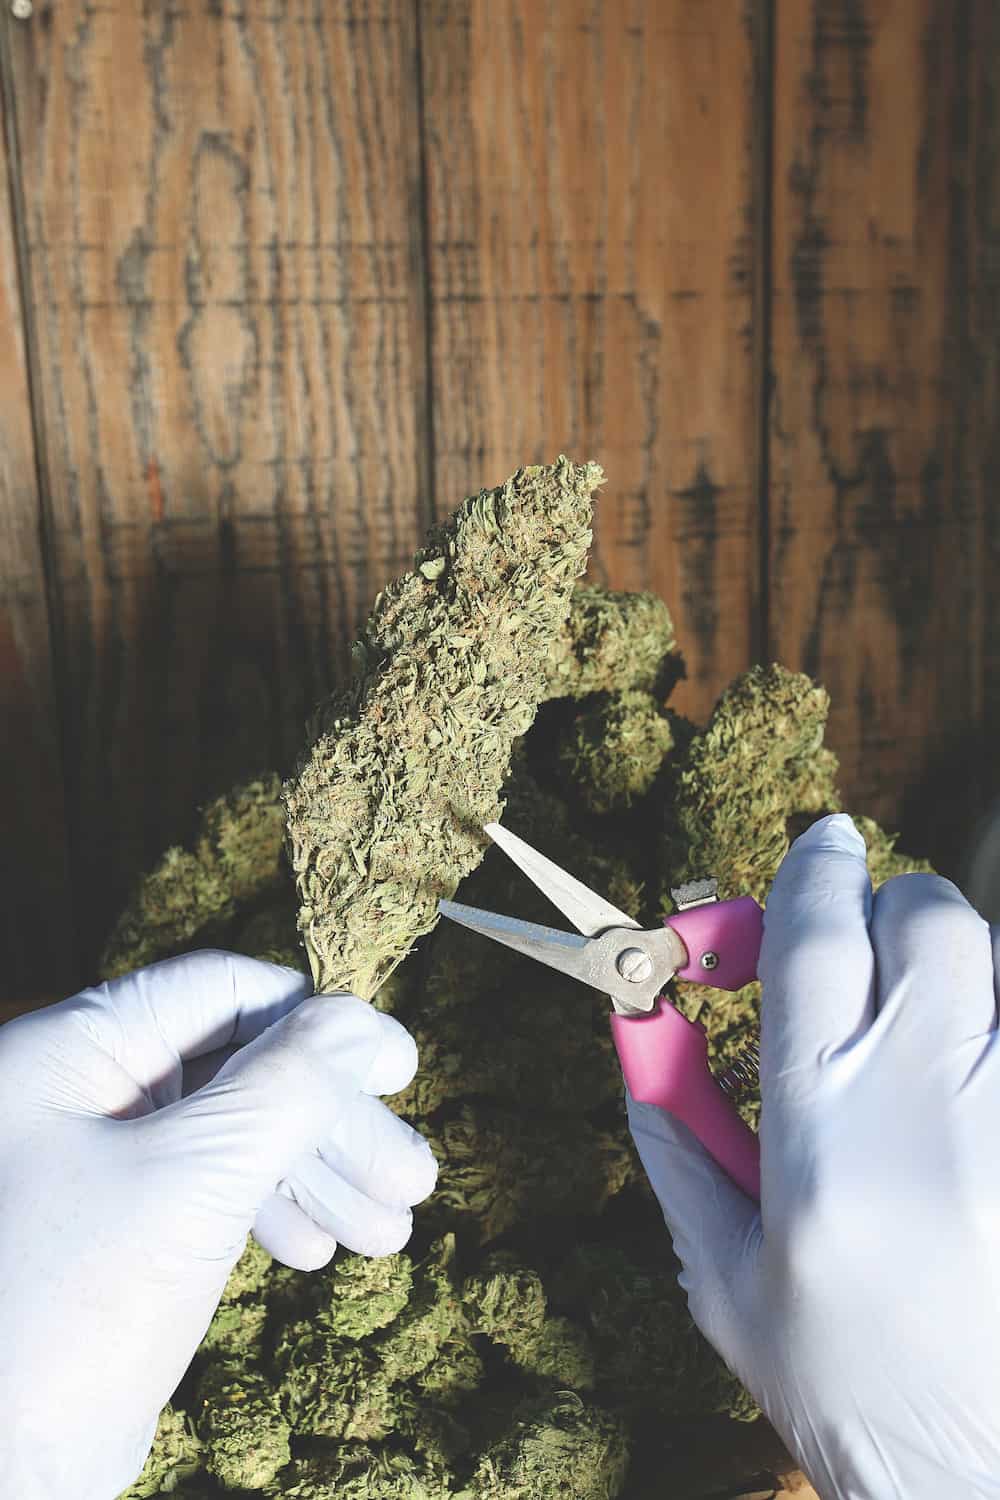
Harvest Whole, or Trim as You Go?
There is no right or wrong way to trim buds—the final product is the benchmark of your growing and harvesting process. That said, how you trim will weigh heavily on final bud quality.
Once dried, the trichome stalks that support the bulbous glands become more brittle, so resins are lost more easily during handling and trimming. For this reason, it makes sense to do the bulk of the handling that is required while the plant material is fresh.
Harvesting branches is easier than lugging around entire plants. If machine-trimming fresh buds, the stems can be shucked of any remaining fan leaves before individual flowers are removed for the trimming machines. Alternatively, fresh branches can be hand-trimmed of any remaining fan leaves (making sure to collect any “sugar” leaves). Hand-trimmed branches can be hung to dry, or you can remove the buds for drying screens.
Canna Obscura, Courtesy of House of Cultivar
Fresh Tips
Mature fresh-cut cannabis is very sticky. Make sure to wear gloves, keep your hair covered and avoid introducing debris from your clothing such as fibers or pet hair.
Handling freshly harvested buds will produce strong smells, so be prepared to manage the extra odor levels—and consider that they may noticeable in places where air-purification equipment isn’t installed. Depending on your need for odor neutralization, you may do fine with some good masking agents or odor neutralizers distributed along the outside perimeter of your area. Activated-carbon filters with fans set to scrub the air perform well at keeping industrial-size smells under control.
Chopping down this much biomass with almost 80% water content is going to release a lot of moisture into the surrounding atmosphere very quickly. Dehumidifiers can prevent things from getting too swampy while also creating a better environment to dry the flowers into tantalizing crystallized nugs. For smaller-size hobby crops, the extra moisture in the air should dissipate quickly enough on its own.
Nose tip: Activated-carbon filters perform poorly at capturing odors in moist air, so keeping the air drier during harvest offers several benefits.
Canna Obscura, Courtesy of House of Cultivar
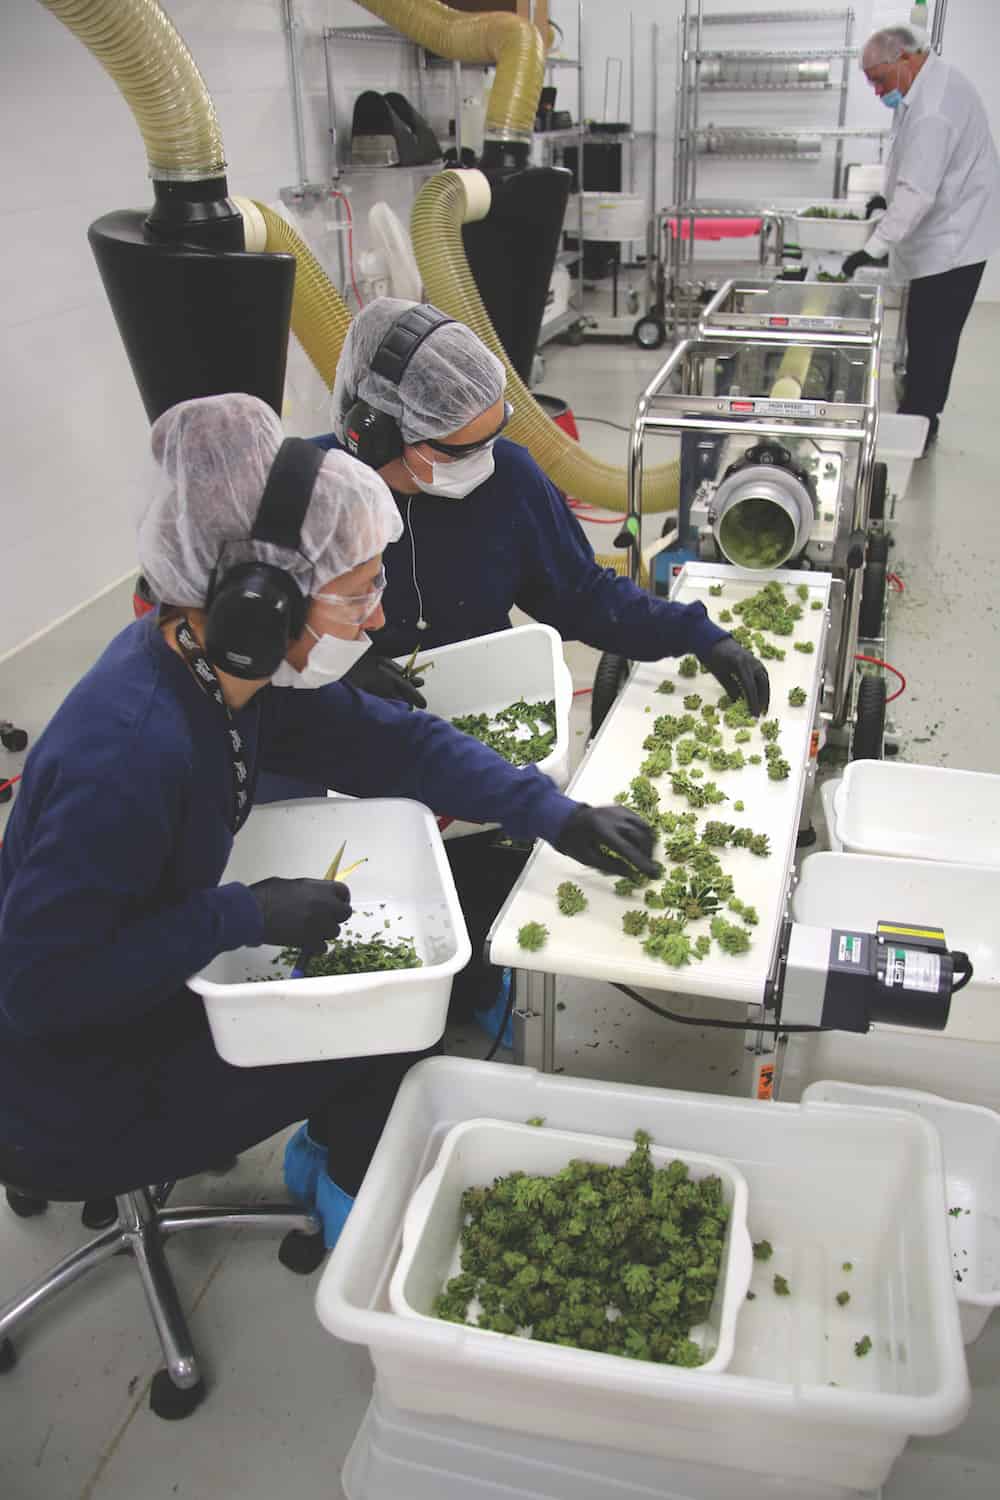
Machine vs. Hand Trimming
Luckily for the modern cannabis grower, there are a wide selection of bud-trimming machines available to choose from. Trimming can be very tedious and labor-intensive—some trim jobs may be too big to do manually, even with a lot of people on deck. Machine trimmers can be big time-savers and, in some instances, can even improve the look of smaller buds compared with those that were hand-trimmed.
All trimming machines are going to knock off some of the resin—on average of up to 10% of your total resin content. However, that resin is often well captured by the trimming-machine system, so it can be used for processing into hash.
Canna Obscura, Courtesy of House of Cultivar
Trimming Wet vs. Dry
As the number of companies that offer “dry trim” machines increases, so does the debate as to what is best: trimming the buds fresh or dry. There’s good logic on both sides of that coin. However, the fact remains that trichomes become more brittle after drying, so it may be best to do most of the handling and trimming when the plant material is fresh, before the drying stage begins.
Courtesy of House of Cultivar
The Drying Process
If you don’t do this right, you can seriously damage the aroma, flavor and smoothness of your final bud quality. Don’t be hasty—patience pays in the drying process.
Consider that your final air-dried weight will be around 20% of your fresh harvest weight. Your buds need to lose a lot of moisture before they’re ready for the next step in the harvest process, the curing stage.
If you dry your buds too quickly—for example, in just a day or two in very hot and dry air—they’ll likely lose their aroma and flavor and wind up smelling like hay. Furthermore, when buds are dried too quickly, they often wind up smoking harsh and not burning properly. Smooth-toking and high-quality dried flowers aren’t rushed.
Conversely, wet plant material needs sufficient air exchange and moisture loss to prevent harvest diseases like rot or mildew. Ideally, in the first 24 hours after being chopped and trimmed, buds can be coaxed into losing a high percentage of their original water content, after which the rate of drying and water loss is slowed for the remainder of the process. This will keep quality high while reducing the chances for diseases that thrive in moist plant material.
You don’t want buds drying in air warmer than 85°F or cooler than 65°F, with an ideal humidity range of 30-45%.
Buds are considered to be dry and ready for the next step, curing, once the stems break rather than fold over. Usually this occurs 5-8 days after cutting plants down and drying. Be careful how you handle the buds, especially after they’ve dried—rough handling can reduce your final quality and resin content.
Tip: Don’t rush to put dried buds into plastic bags or storage containers—just because the flowers feel dry after a few days doesn’t mean they are! Once in plastic, moisture that was inside the bud will “sweat” its way out too fast—leading to mold or undesirable aromas and flavors.
Never put your buds directly in front of a hot-air source like a heater or dehumidifier, and never use the oven or microwave to dry them.
High Times Archive
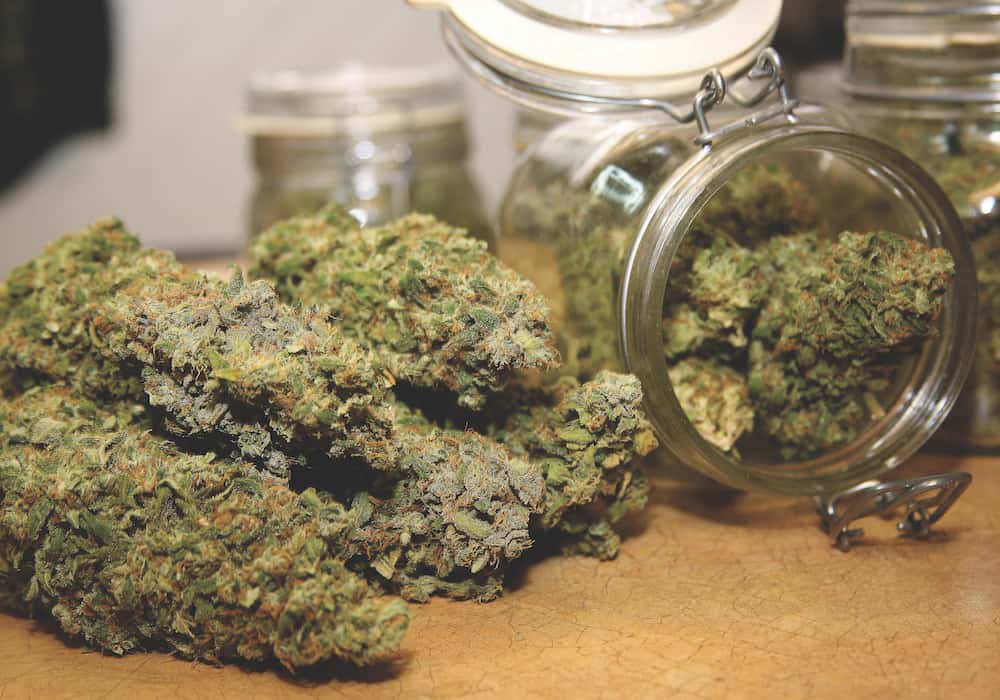
Curing & Storing Flowers for Quality
Curing is an important biological process that brings out your flowers’ best qualities. After air-drying, closed containers are used to wick out the remaining moisture from inside the stem to the outer surface of the flowers.
After gently placing your flowers into jars or bins, avoiding compaction, seal the lids for just a few hours. You’ll find that the flowers at the bottom will feel moist again. Gently rearrange the buds so that the contents from the bottom are now on top, and repeat this process until the buds no longer feel moist after the jar is closed for a day at a time.
Indica strains tend to mature and decline quickly when it comes to quality and short-term storage conditions. Sativas will often improve after several months and hold their kick for longer, given the same storage conditions versus indica-dominant strains.
Factors that will degrade stored buds more quickly include exposure to light, temperature fluctuations, exposure to air and, of course, if they were dried and cured properly to begin with.
Glass mason jars are still great for keeping buds at their peak if kept out of light and maintained at or under 65°F. Turkey and Foodsaver bags are superior to regular food-storage bags, which do little to protect weed quality.
Cannabis aficionados may seek out specialty bud humidors or specialty storage containers and/or bags that can regulate the internal humidity of your stash.
For long-term storage, airtight locking containers blasted with nitrogen gas or CO2 can preserve that picture-perfect moment at which you captured your cannabis crop.
This feature was published in the April 2018 issue of High Times magazine. Subscribe right here.
The post The High Times Pro Guide to Harvesting appeared first on High Times.


0 DL LiNKS:
Post a Comment
Add yours...