
 Home
Home
As more and more medical marijuana states come online and other states legalize recreational use for adults, many people are asking how they can easily—and with minimal expense—grow their own cannabis at home. Here’s a quick-start guide to setting up a small indoor garden and getting it running effectively.
Step #1: Choosing a Space
The first step in any cultivation project is identifying a smart space for your garden. At home, grow spaces tend to be smaller and more restricted than one would like, especially indoors. The home grower commonly has limited options, such as a closet, basement or garage, where extra space might be available.
The primary considerations in choosing a site for your garden are the size of the space itself (including height) and the ability to properly seal and ventilate it. Bringing fresh, cool air into the garden and exhausting hot, spent air out of it are often overlooked and underestimated factors when setting up a grow. A secondary consideration for some might be security and the ability to conceal the garden.
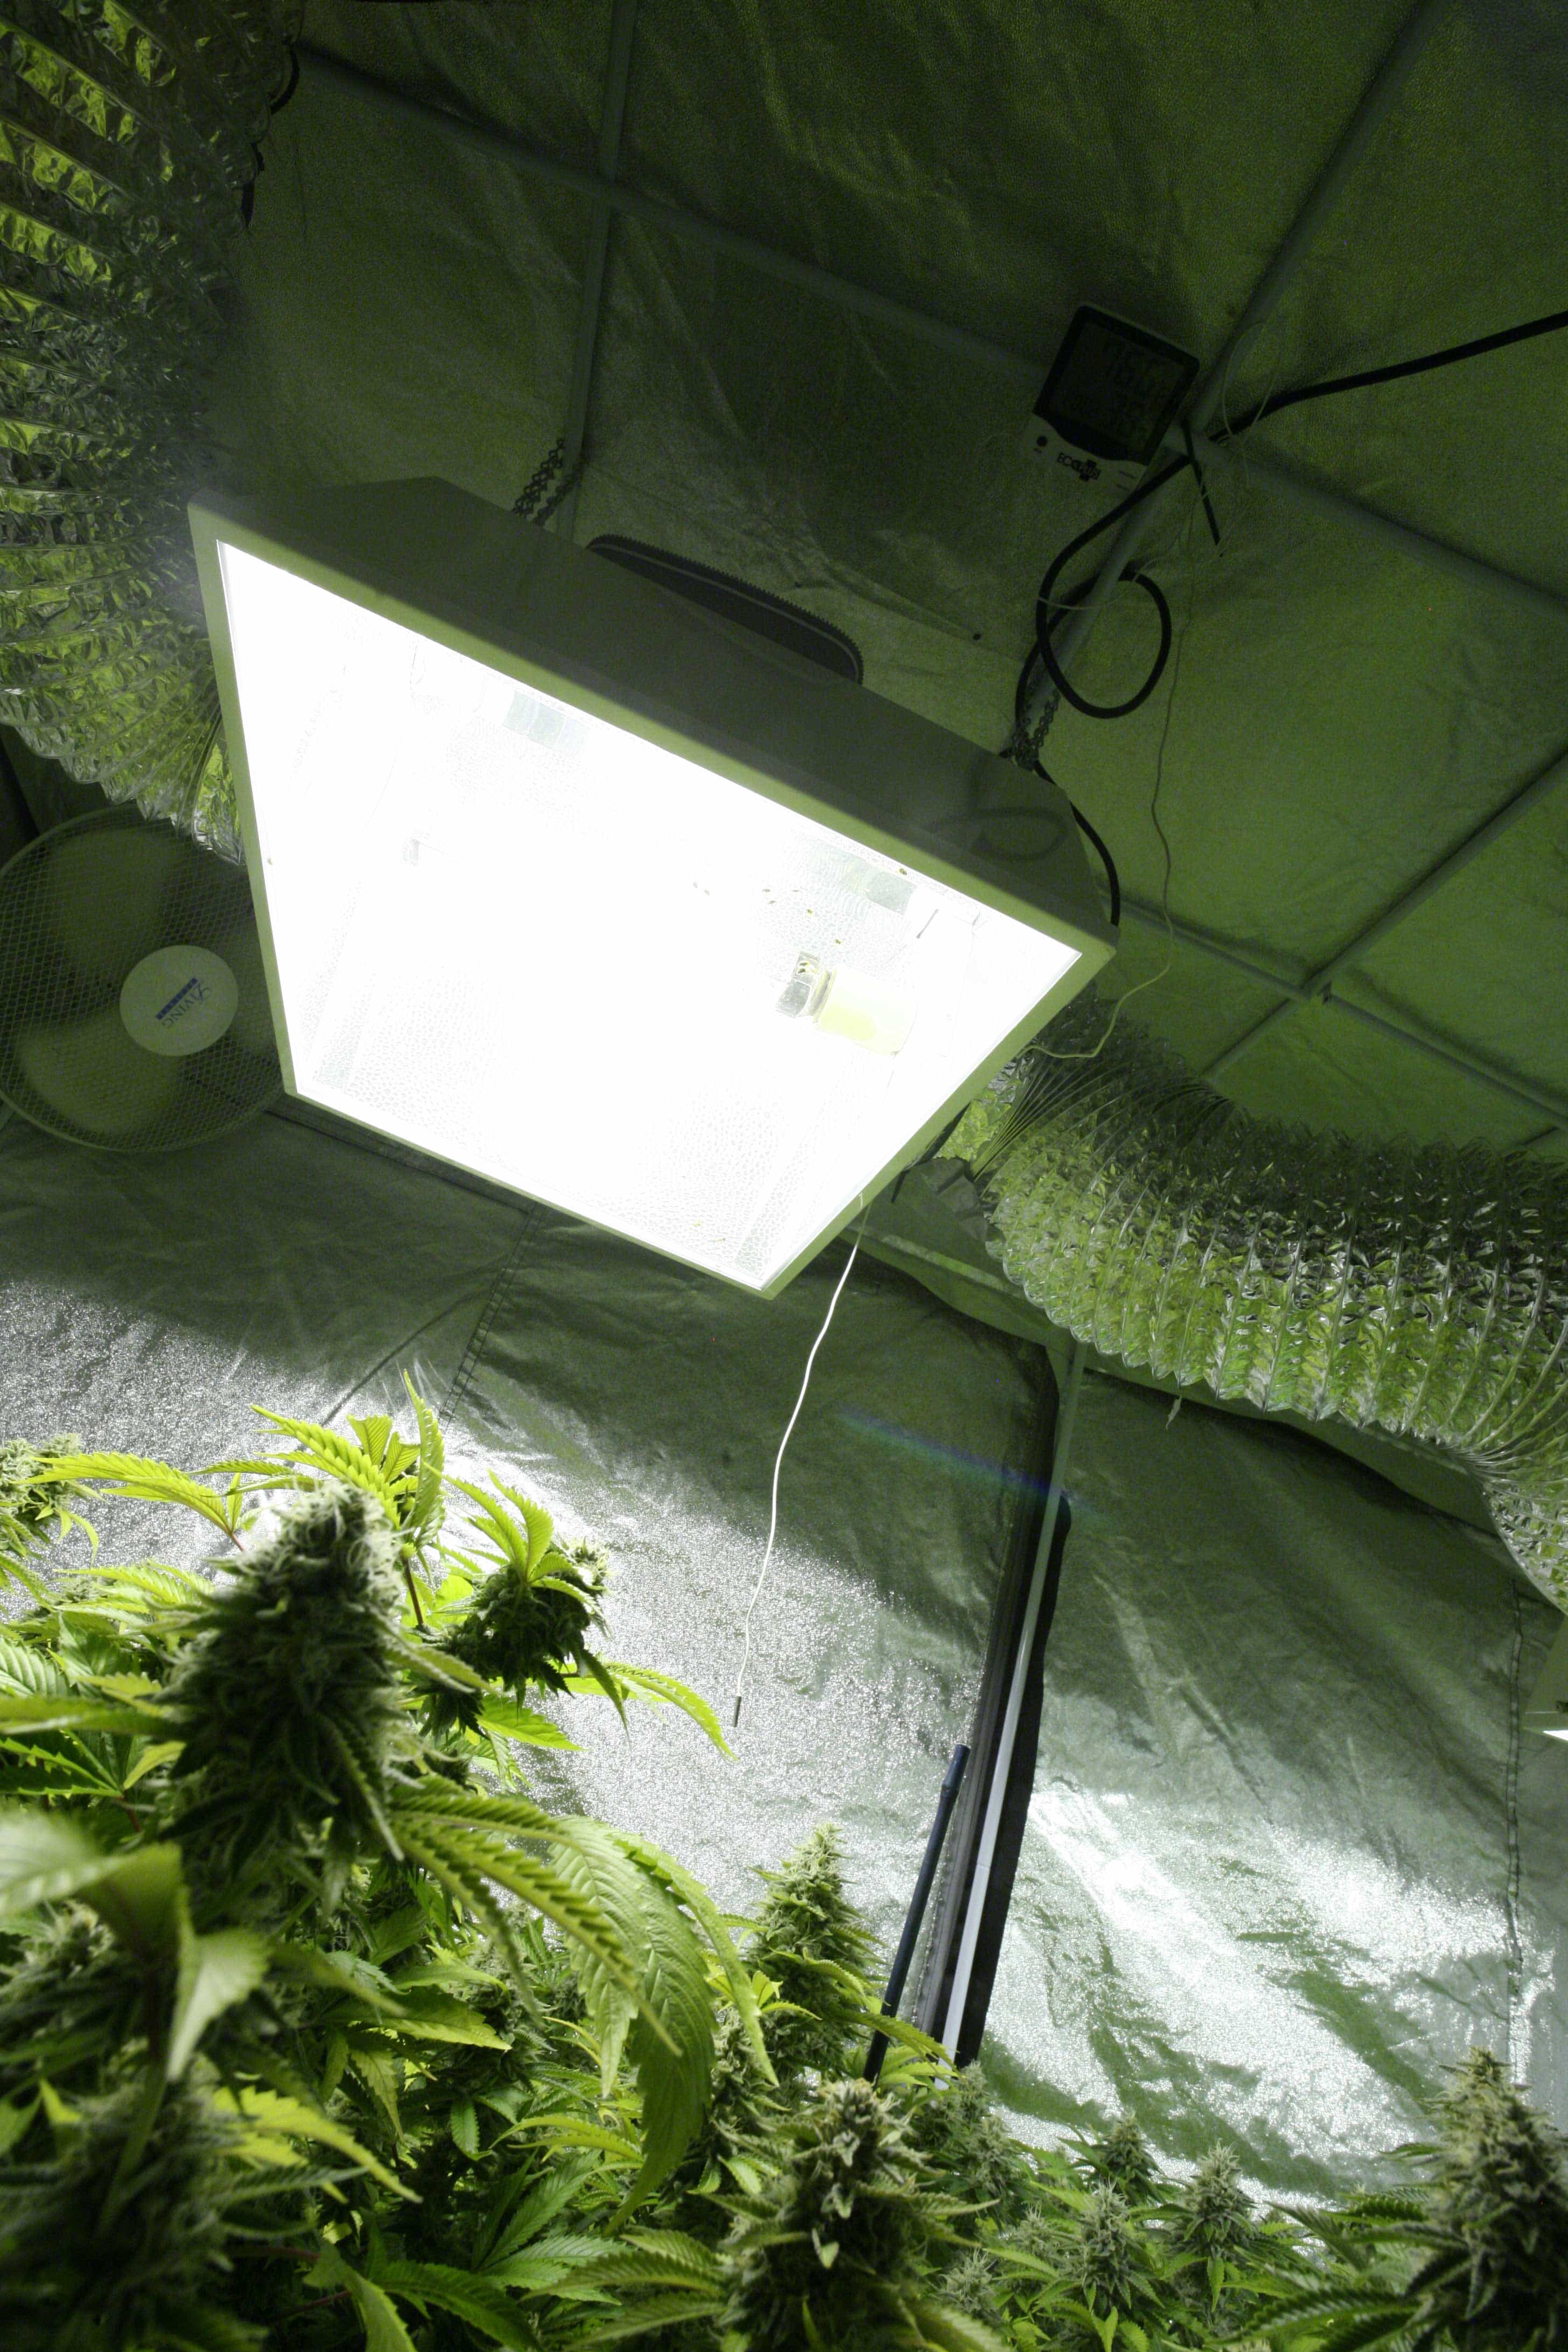
Closets offer the best option, because they provide a space that is relatively sealed compared with a grow space in an attic, basement or garage, which may require its own walls or enclosures to be built—though if the latter options are more appealing to you, grow tents offer an excellent alternative. Enclosed and sealable spaces are preferable because they make it much easier to control the environment around your plants.
Of course, while grow tents afford excellent environmental control, they will add to the cost of your garden. Standard grow tents with a 4′ x 4′ footprint can run anywhere from $100 to $200—possibly more, as some tents come with “bundle” deals that include fans, timers, a light, etc.
Step #2: Buying a Grow Light
The next consideration in setting up your garden is the equipment you’ll use. A grow lamp is perhaps the most important equipment purchase you’ll make, because light is the most integral ingredient in the recipe: Without light, there is no way for plants to conduct photosynthesis and produce the energy they need to survive and thrive (more on this when we get to nutrient feeding).
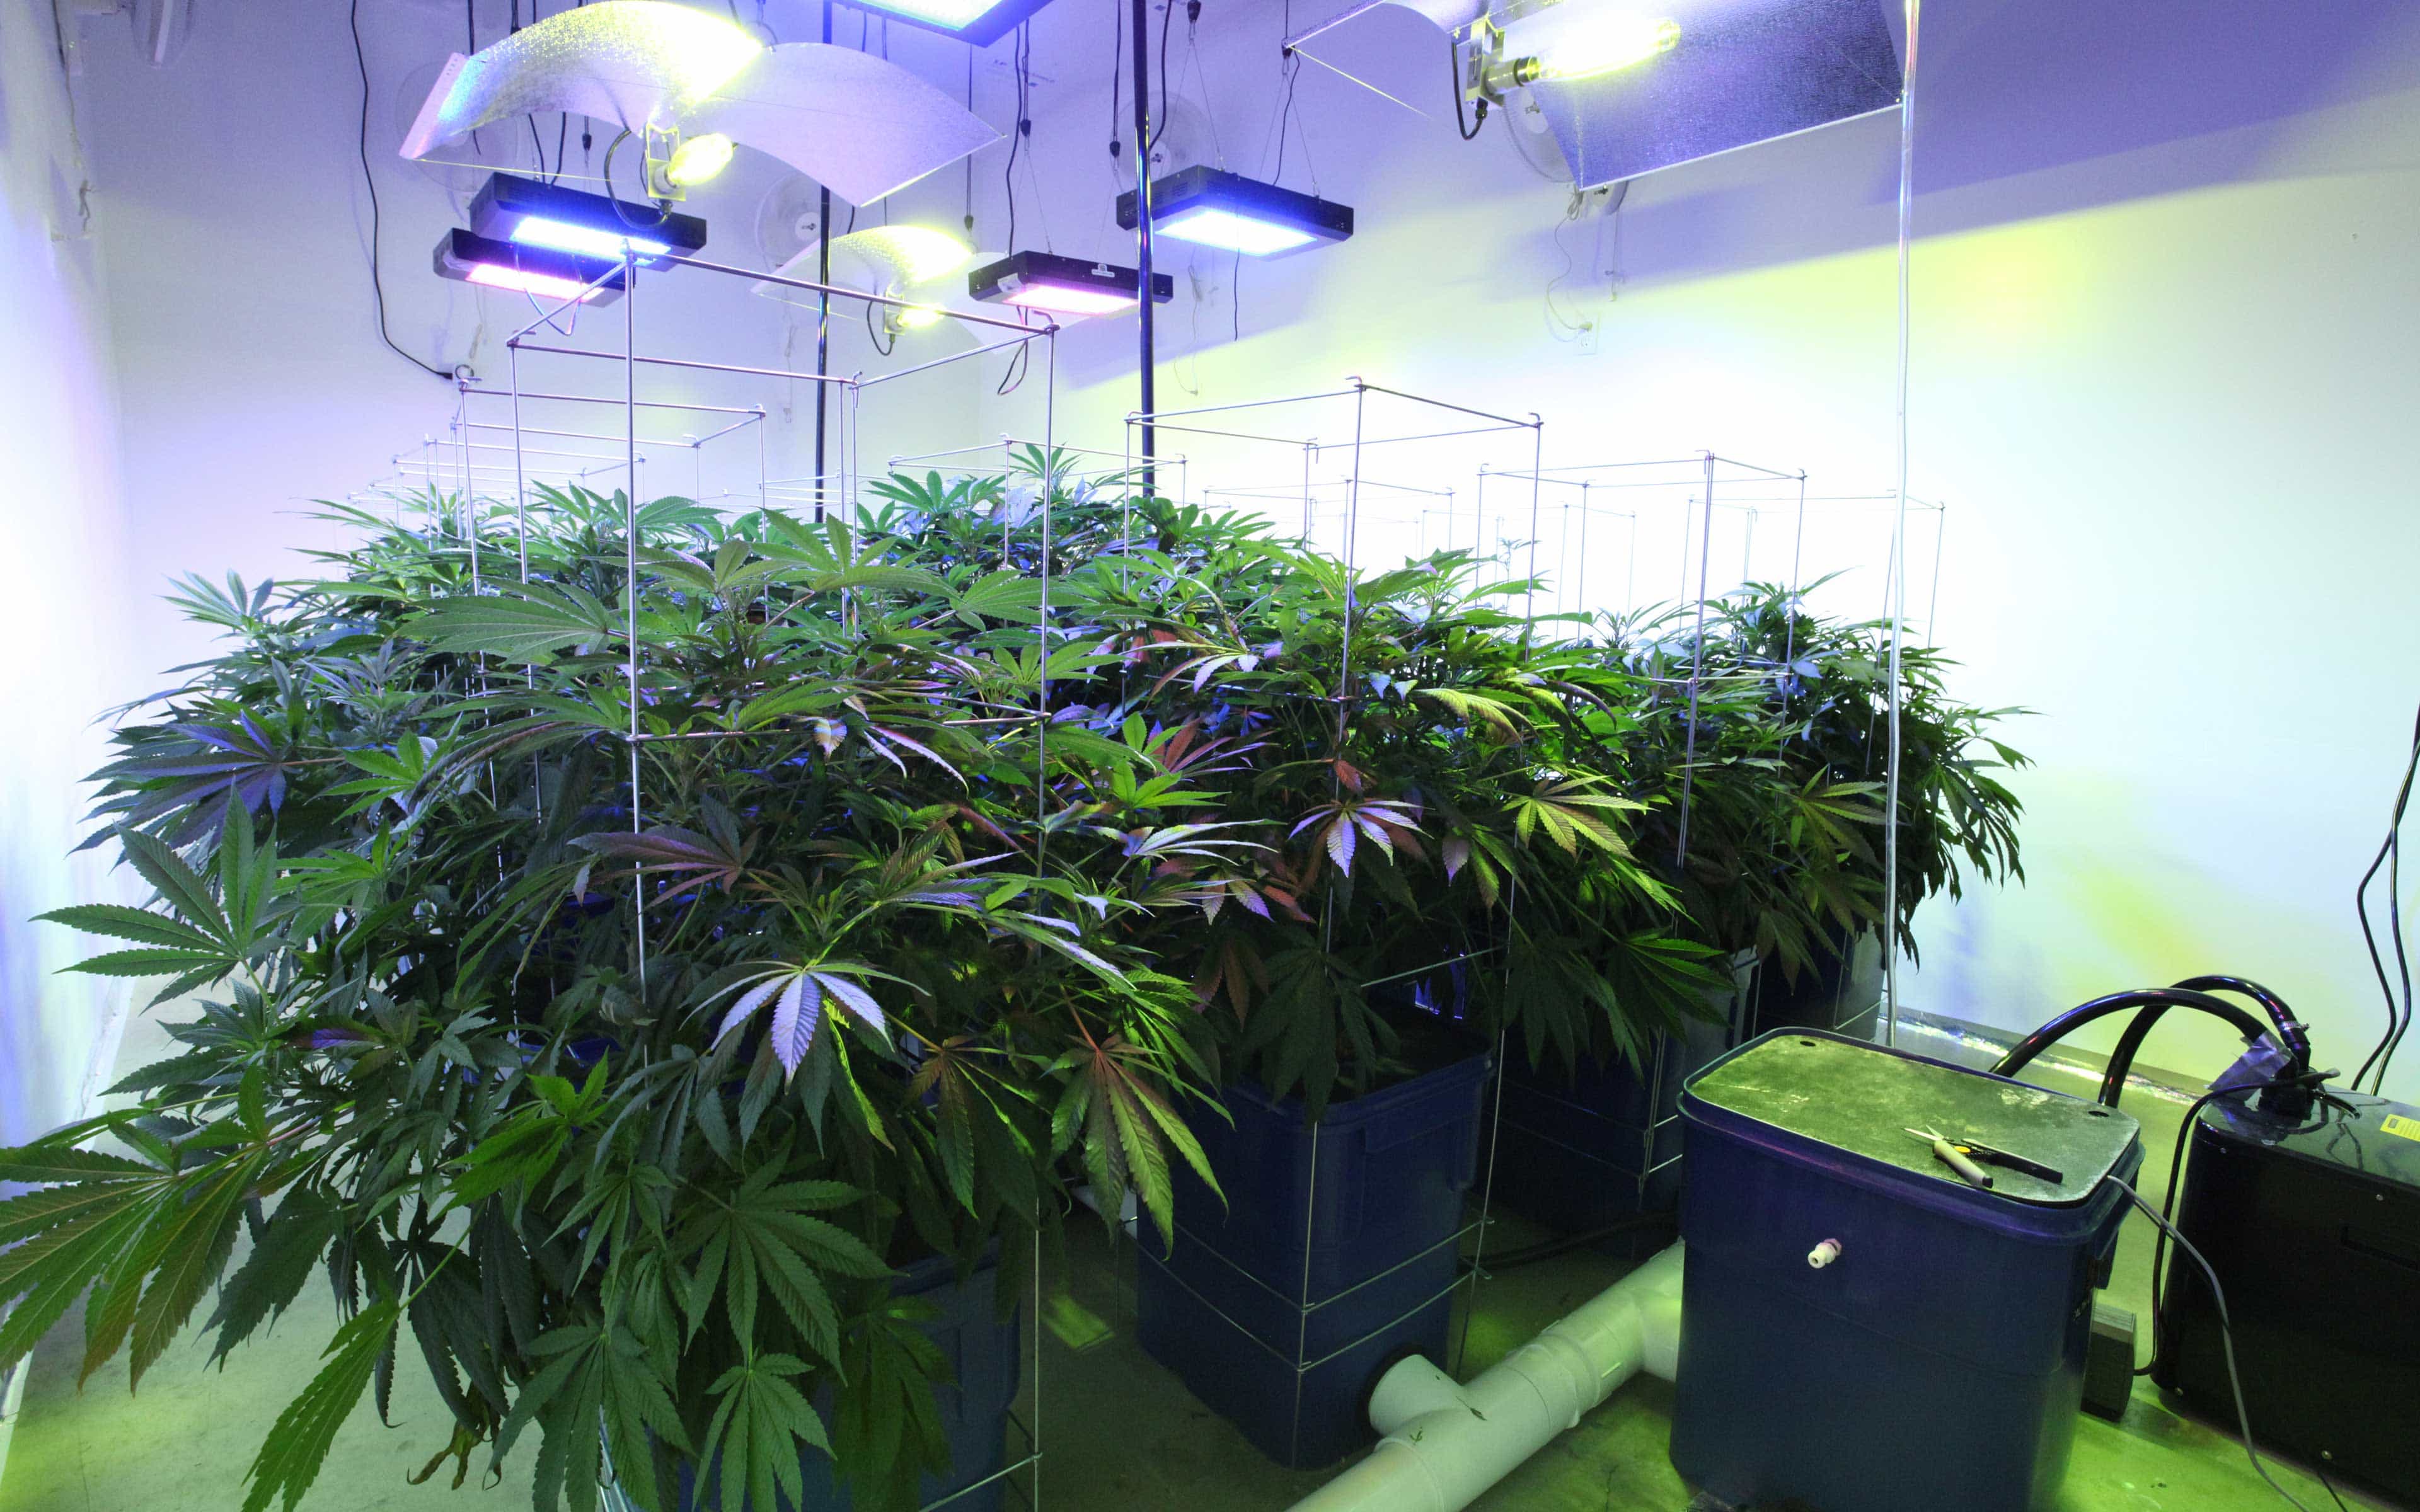
When choosing your grow lamp, a smal HID bulb is still the best bet.
The task of shopping for a light can be a daunting one for first-time growers, but it doesn’t need to be. Indoor horticulture requires specialized bulbs, which we call high-intensity discharge (or HID). These bulbs require a dedicated ballast to run, meaning they’re not the kind you can simply screw into an existing house socket or lamp. To complicate things a bit further, there are two types of HID bulbs used for indoor growing: metal halide (MH), which is generally used in the vegetative stage, and high-pressure sodium (HPS), which is generally used in the flowering stage. An inexpensive MH or HPS lighting system will run approximately $140. Savvy growers will purchase a ballast system that can run both MH and HPS bulbs and then get one bulb for each phase of growth. The bulbs themselves can be bought for $50.
The central question for the new grower isn’t so much what type of bulb to use (in truth, you can get away with using an HPS bulb for both veg and flower), but rather what size (or wattage) to choose. HID lights utilize bulbs ranging from 250 to over 1,000 watts. This consideration is important because your lamp will be the primary producer of heat—and heat is a big nemesis in most indoor gardens. Using that 4′ x 4′ footprint as our example—and assuming four plants in the garden—a 400- or 600-watt light would be your best bet, depending on how well you can ventilate the garden space. If you’re confident that you can exhaust heat out (from the top of the space) and keep temps around 74°F, then a 600-watt bulb will pay off a lot more in terms of yield.

Economical in the short-term, LEDs usually disappoint come harvest time.
Many people ask about LED lamps, especially for small home grows, but the better LED lamps on the market (meaning those that provide full-spectrum white light) run over $1,000 per unit. The newer LED lamps (which don’t produce the pink and purple hues) have had to sacrifice their normal advantages of reduced energy consumption and heat output to match the quality and quantity of light that HID bulbs produce. However, if you have the space and the budget, LEDs do make an excellent option for supplemental lighting alongside your HID lamp.
Step #3: Picking Your Setup, Medium and Containers
Before we address the various types of grow systems in more detail, it should be noted that new growers are strongly encouraged to start off keeping it simple and basic—i.e., using plant containers on a floor tray and hand-watering the plants daily. A 4′ x 4′ flood tray will fit nicely into a closet or grow tent and is useful for catching runoff from the containers after watering. (A 4′ x 4′ tray runs approximately $120.)
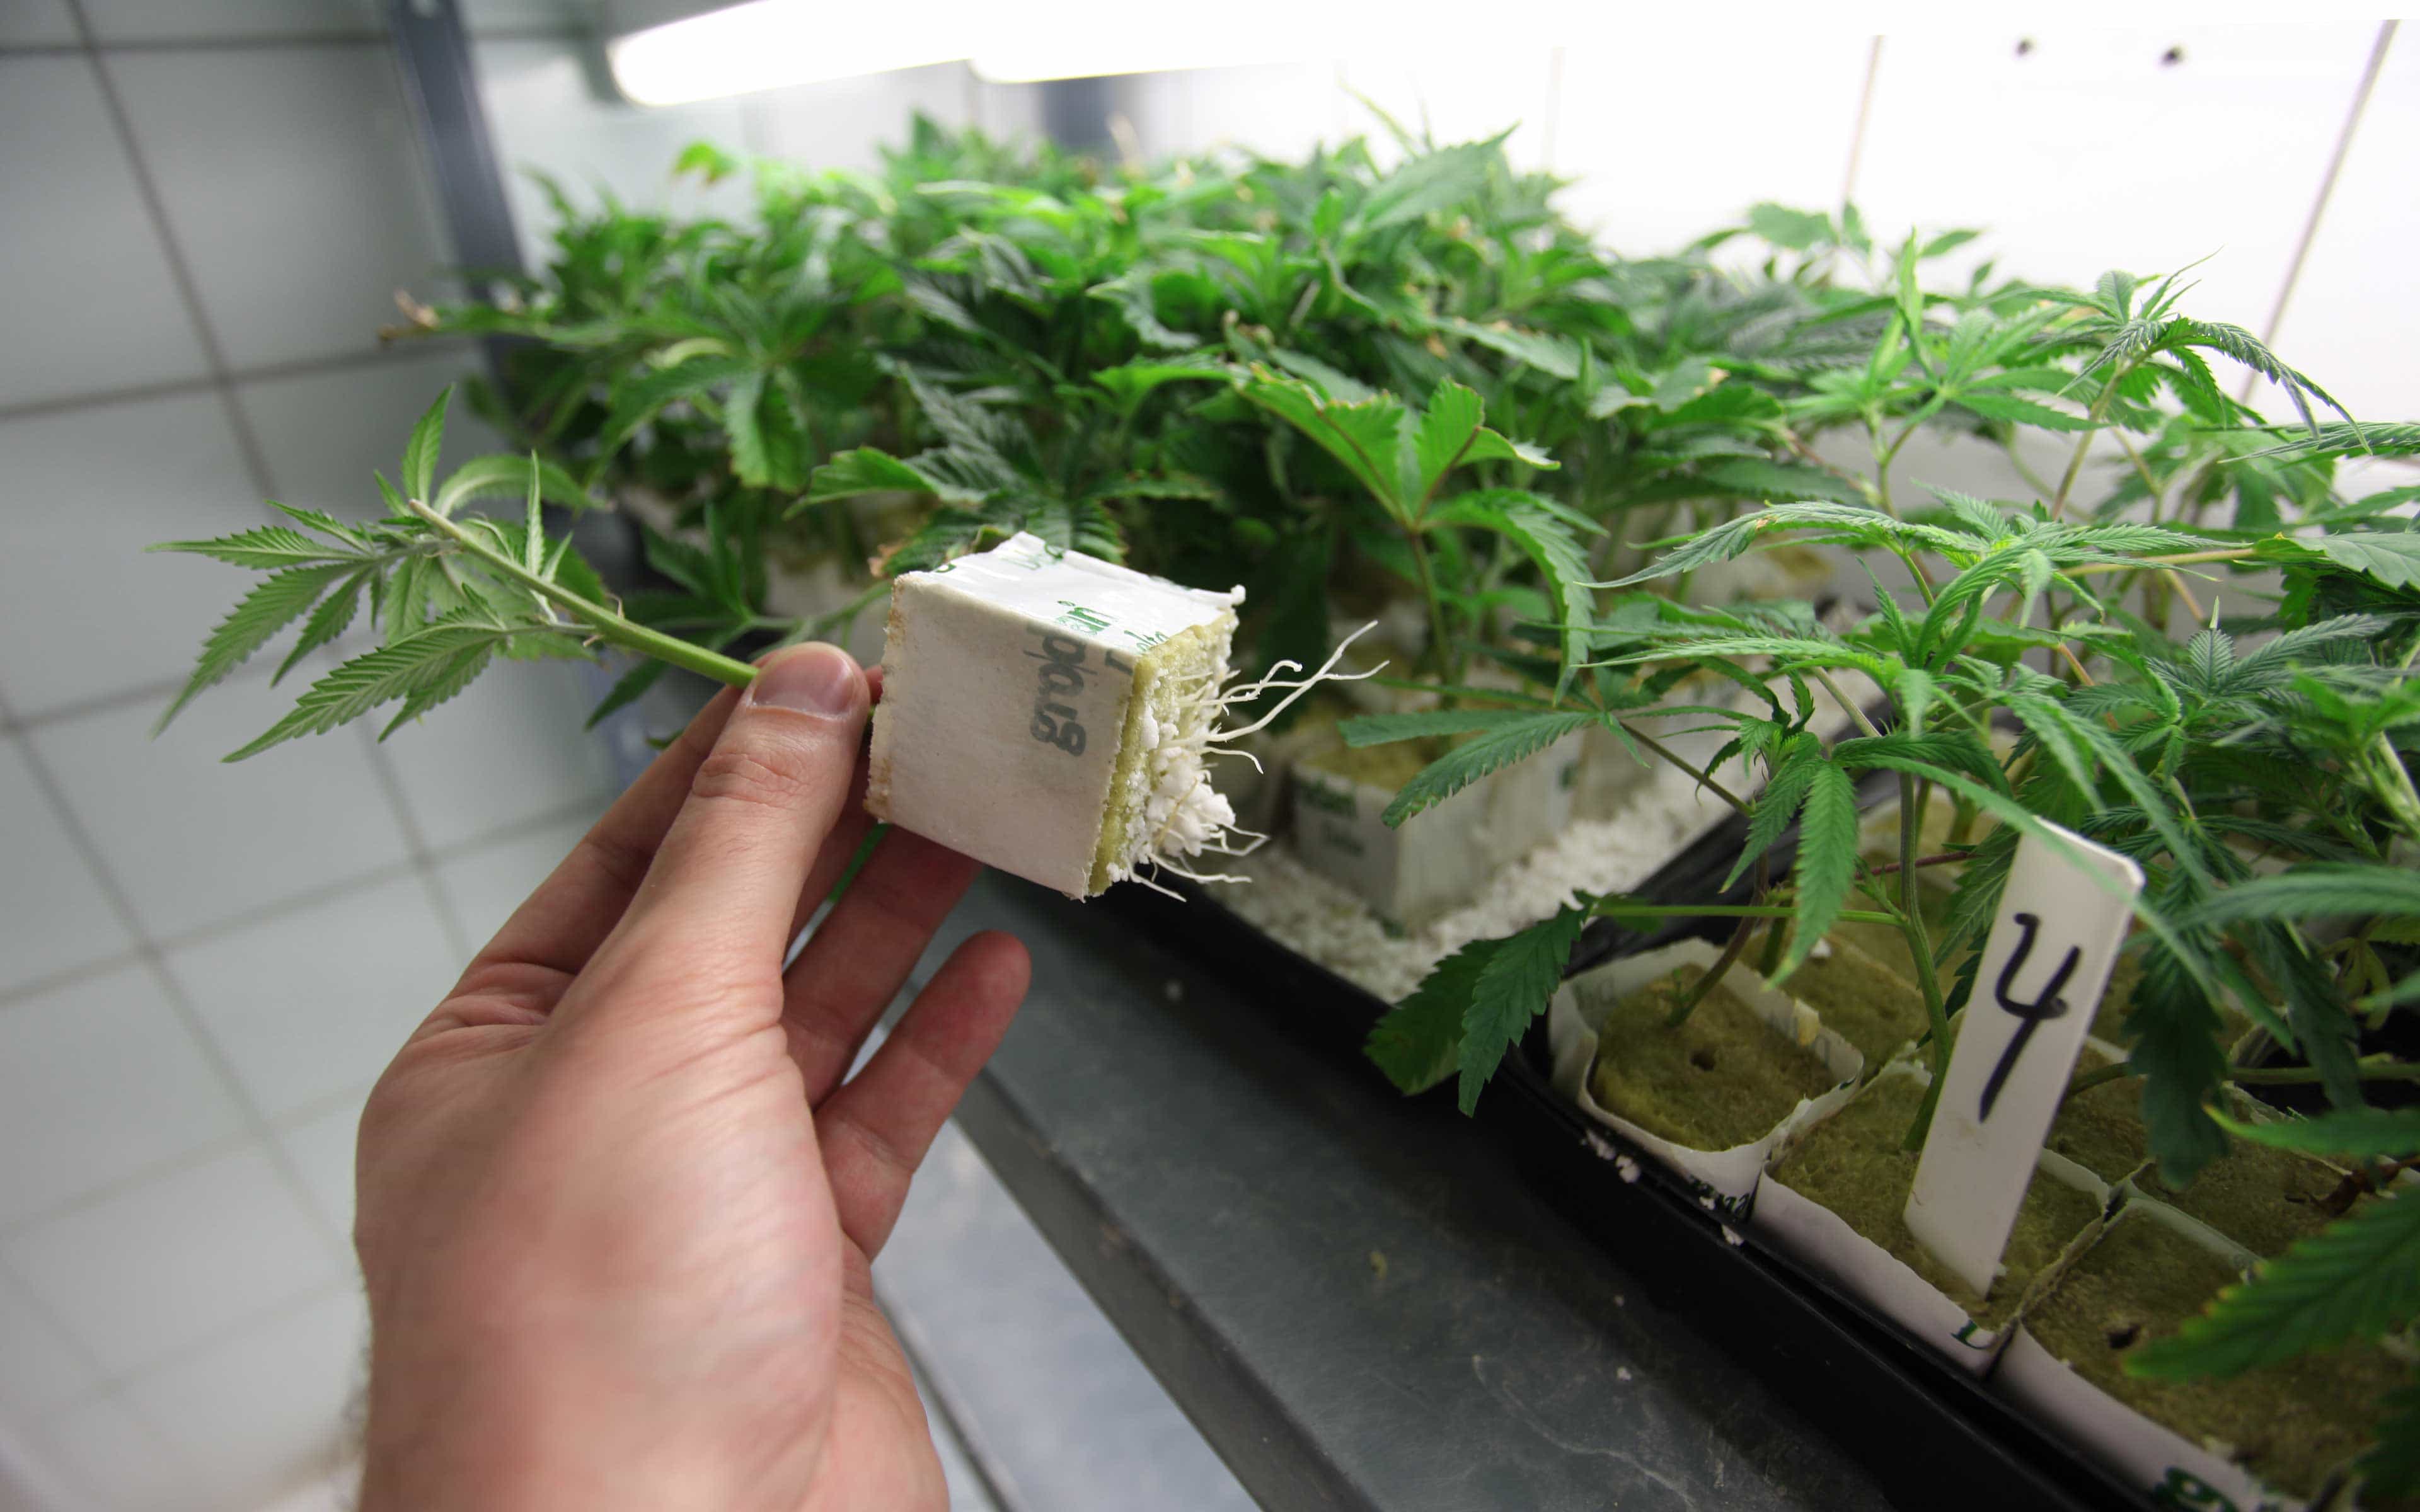
The plant containers recommended for new and advanced growers alike are those that are most “breathable,” such as fabric pots or grow bags. These containers allow outside air to more easily permeate the medium. This is critical for proper root growth and development, as the roots breathe in oxygen during the dark cycle. The size and health of the root structure is directly proportional to the size and health of the plant above it. Thus, there’s a close correlation between large, well-developed roots and the plant’s eventual yield.
A 12-bucket DBC system in a small bedroom.
As for irrigation, there are plenty of automated watering systems available, but these are more technically challenging and have several parts to manage, including pumps, timers, hoses and reservoirs. First-time growers should seriously consider hand-watering their plants once or twice a day and not worry about automation. Not only does this method allow you to better familiarize yourself with your garden, but it also helps you identify (and quickly correct) any problems you might see with pests, diseases or nutrient deficiencies.
New growers looking to automate their watering and feeding schedules might consider a simple flood-and-drain system. In this setup, the grower raises the flood tray off the floor about 3 feet and slides a water reservoir beneath it. Using a timer and pump, this setup delivers water to the flood table above, soaking the plants’ root zones for a few minutes at a time before draining back to the reservoir below. This system requires netted pots that allow for ample water penetration, as well as a hydroponic medium like hardened expanded clay (HEC) pellets or rockwool. However, it should be noted that these mediums can be very difficult to work with, even for more advanced growers.
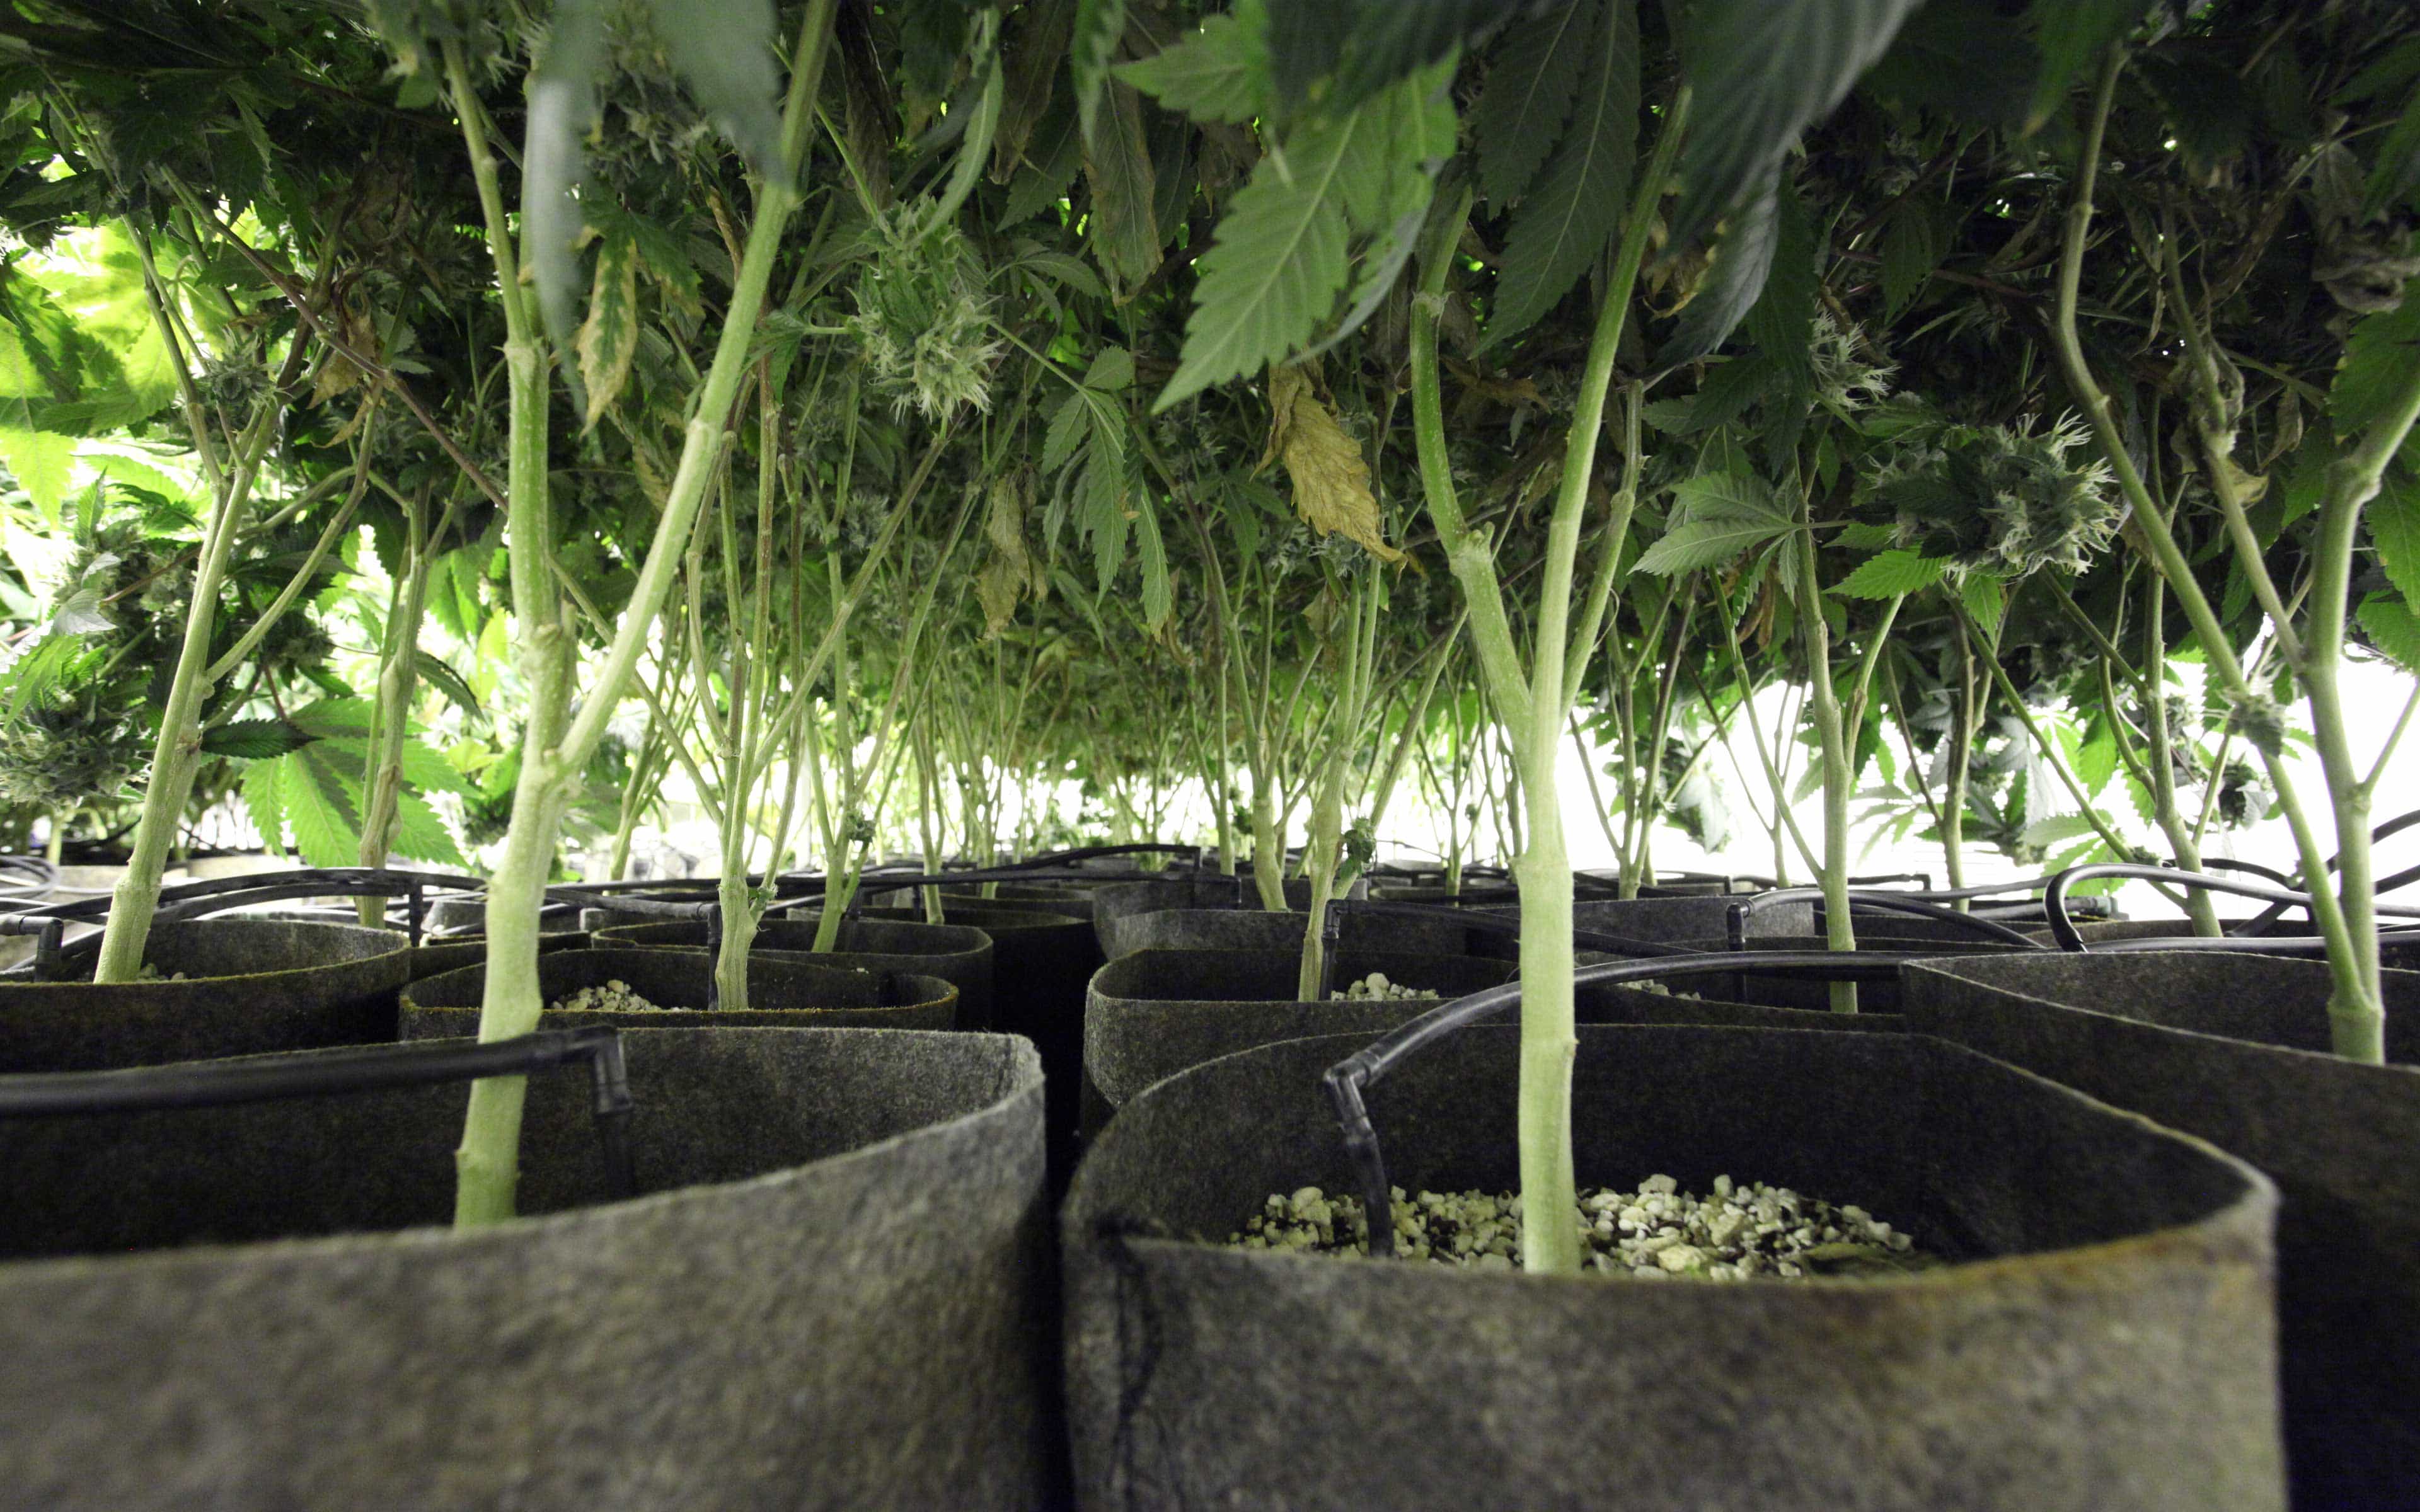
Top-fed plants in fabric pots.
Another possibility for a small, four-plant grow would be a deep-water culture (DWC) system. This uses buckets as the plant containers, which are connected to one another by hoses and then to a central reservoir. A DWC system is a variation on the flood-and-drain system, except that each bucket floods with water and drains instead of an entire flood table. Plants sit nestled into the lids, with their roots dangling down into the buckets. Not only does this system provide water and nutrients via the flooding, but it also provides optimal airflow and oxygen for the roots. In terms of the medium, the requirements for a DWC system are minimal, since the plants sit in small netted pots usually filled with HEC to hold the plug that the plants were initially rooted in. This system also relies on pumps, hoses and timers, but this equipment is usually bundled together and sold as a turnkey solution for home growers. These systems are scalable from four to as many as 20 plant sites and will start from around $115 and up.
Still, the best medium for new growers to start with—especially in a basic hand-watered garden—is a soilless mix. These mixes look and feel just like regular outdoor soil, but they’re actually coco-, peat- or sphagnum-based, usually with some perlite and wood chips mixed in to help retain moisture and aerate the medium. Soilless mixes are much more forgiving for new growers if a mistake is made with nutrient feeding: They offer excellent buffering for the roots and help protect against nutrient burn and nutrient lockup in the root zone. Unfortunately, most automated hydroponic systems do not lend themselves to loose, grainy mediums like soilless mixes, which is another reason it’s recommended that new growers start off with hand-watering.
Step #4: Choosing Your Nutrients
When we talk about “feeding” plants, what we really mean is watering them with a nutrient-rich solution. These solutions are simply dissolved minerals in purified water and do not actually provide the plants with “food”; rather, they aid in the process of photosynthesis, by which plants create the sugars (in the form of glucose) that they use as their actual food for the energy to develop and grow.
As noted earlier, certain types of mediums, such as soilless mixes, are easier to use and offer more buffering for the root system. As a general rule, new growers are encouraged to use low doses of nutrients starting out: It’s always easier to correct a deficiency in nutrient uptake than it is to correct an overdose. But whether you’re checking for symptoms of under- or overfeeding, it’s essential to stay closely attuned to your plants’ needs, inspecting their leaves daily for signs of discoloration that may indicate a nutrient problem. Again, this is yet another reason why hand-watering plants is the smarter choice for new growers.
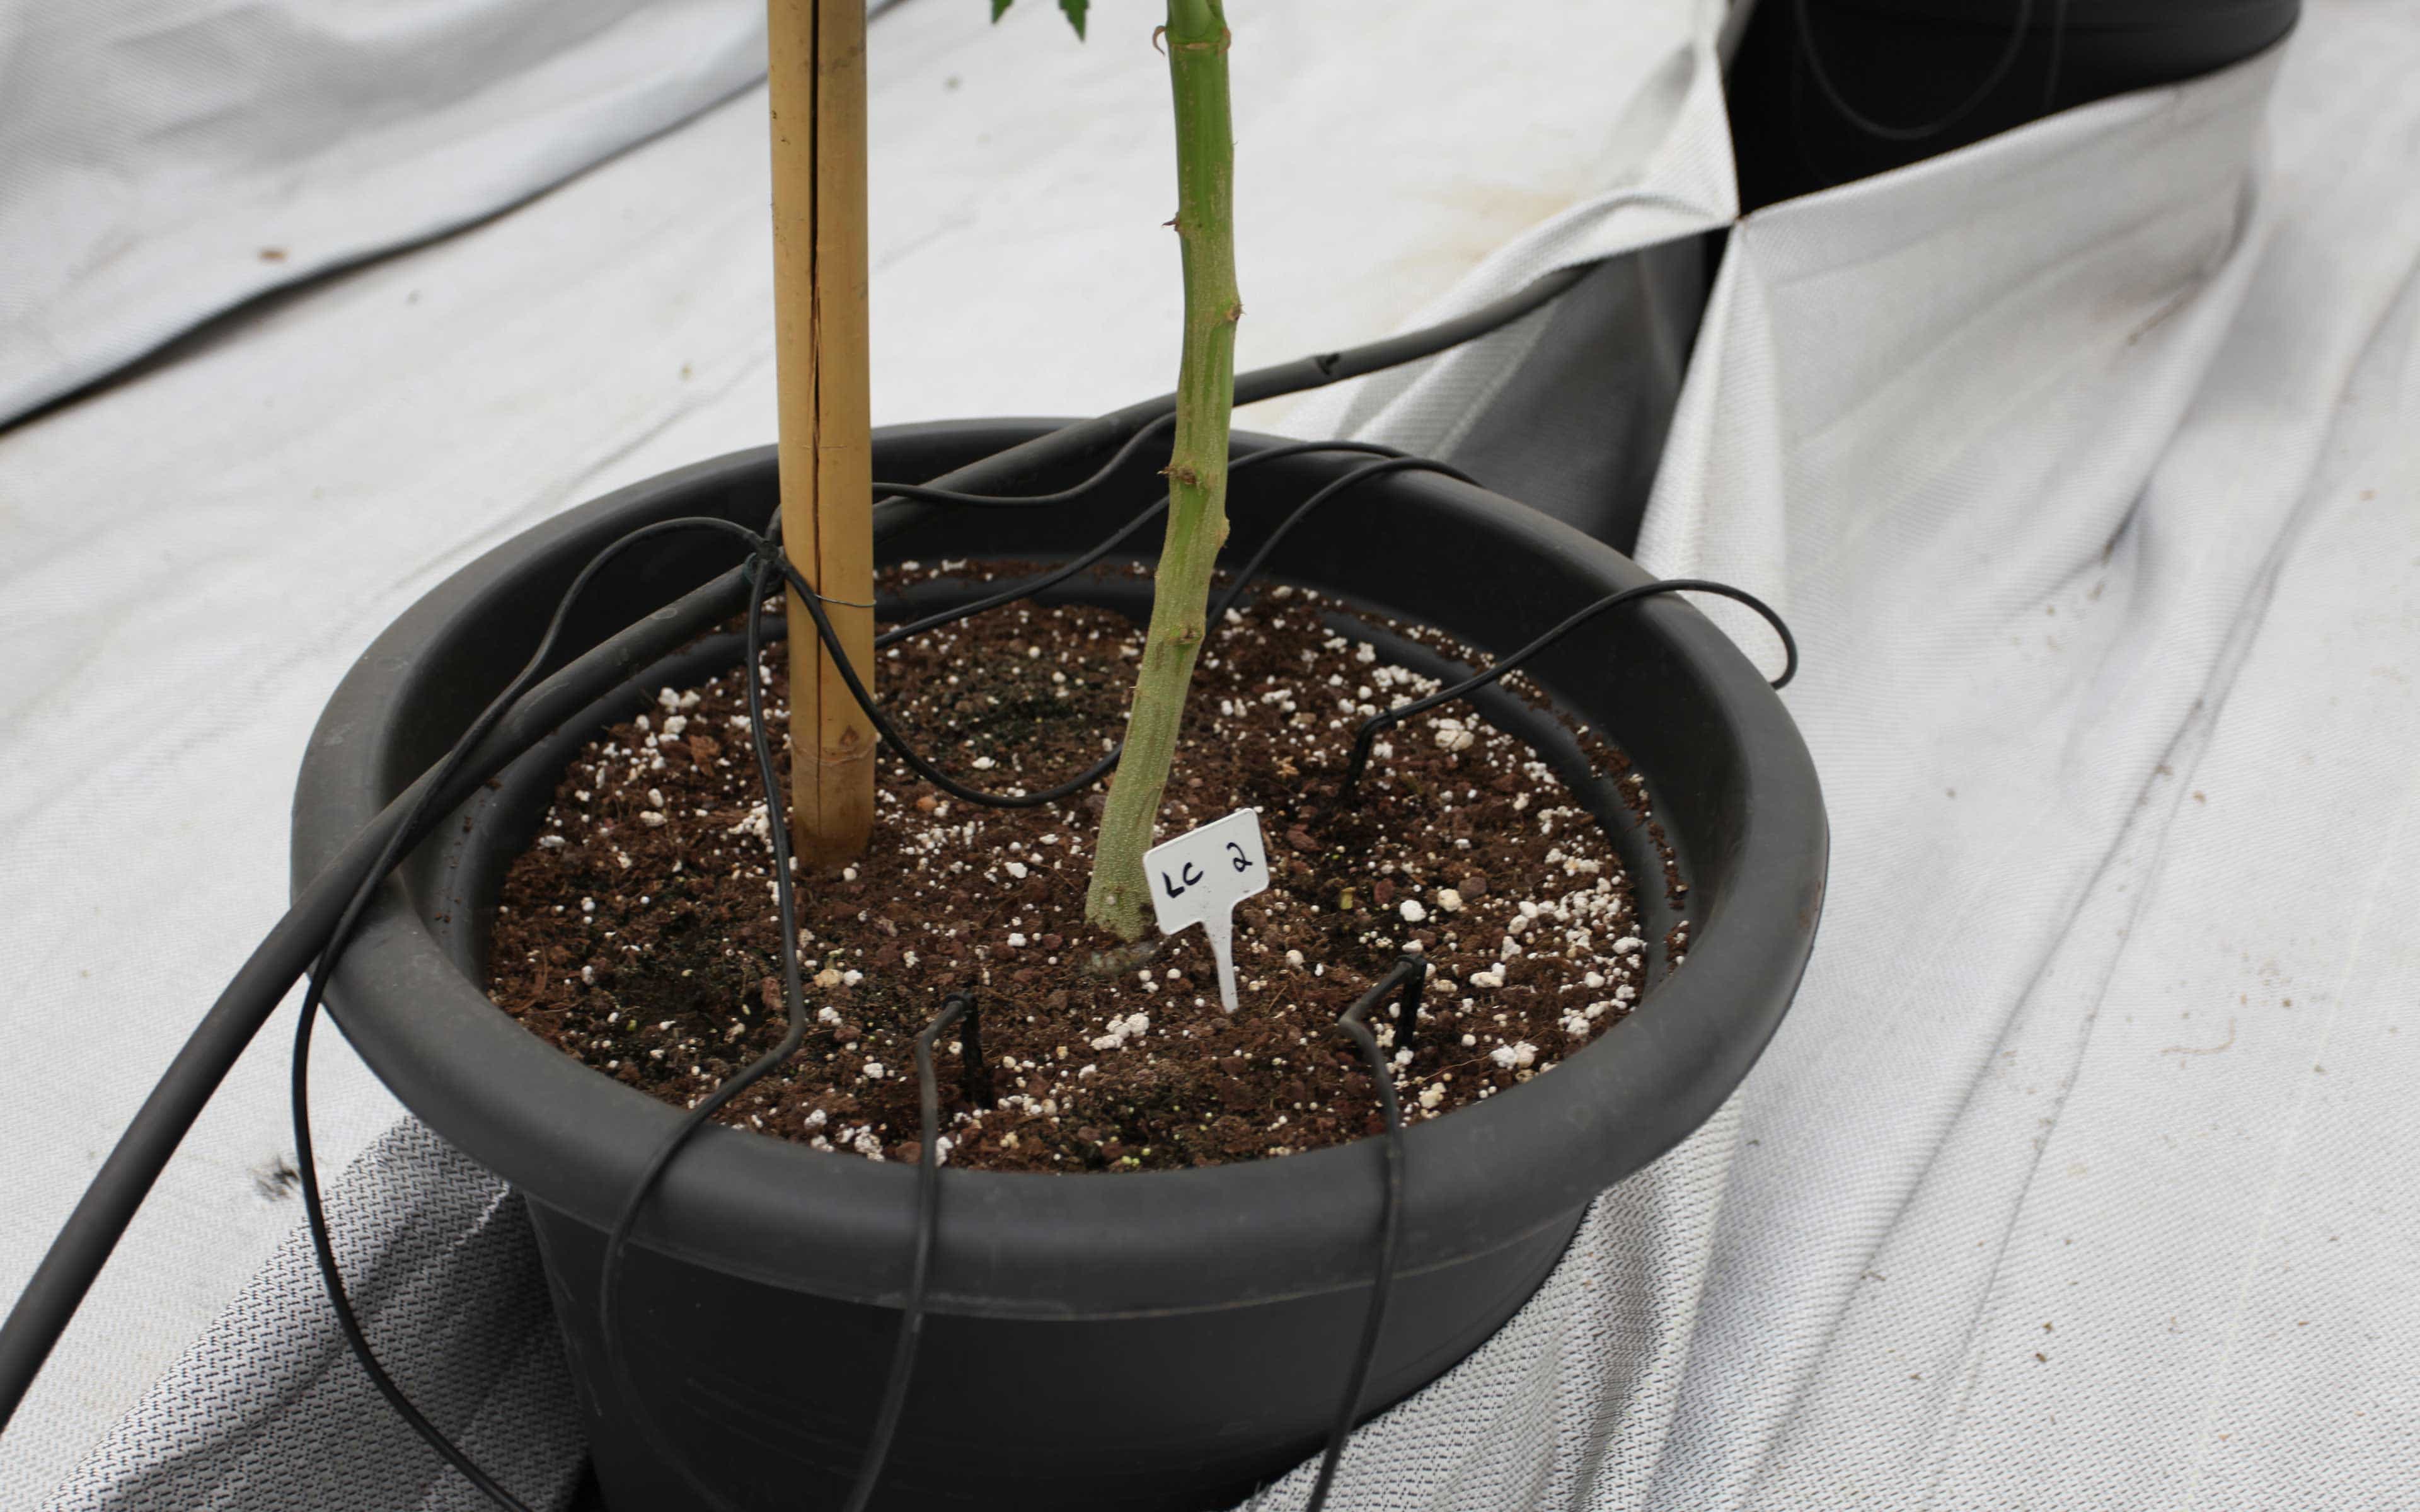
Peat-based soilless mixture with perlite.
Because synthetic nutrients can be quite potent and the proper doses tricky to master for beginners, many growers turn to organic nutrient lines, which offer a milder form of the minerals that are easier for the plants to break down and absorb. Synthetic nutrients are salt-based and can easily create problems in your medium and plants. Most major nutrient manufacturers offer organic lines to complement the heavier synthetic lines they produce. Popular brands like General Hydroponics, Advanced Nutrients and Botanicare all have organic products for cannabis growers. Keep in mind that nutrients—while an essential part of cultivation—will be one of the more expensive items for your garden.
Step #5: Procuring Seeds or Clones
Finally, we come to the million-dollar question: Where do I get my seeds? This question is asked more often than any other, and there really is no single easy answer.
For starters, purchasing seeds from international sellers can pose a legal issue when it comes to shipping across borders. The same applies to buying seeds from medical or recreational states in the US. Still, many growers insist that purchasing and transporting seeds is quite simple and safe, given how small and easy they are to carry. Seed companies overseas are also willing to ship seeds anywhere in the world, often with a disclaimer attached that the buyer assumes all liabilities.
Clones are easy to produce and ensure perpetual plant stock.
In truth, many of the seed banks selling genetics from various breeders and seed companies do a decent job of deploying ingenious methods to ship their seeds to you, and if they’re discovered by authorities, the seeds are most often simply confiscated and destroyed, leaving the seed banks to deal with their irritated customers. The larger issue in procuring seeds is the quality of those beans. Finding a reputable seed seller that isn’t going to send you falsely named genetics can be an issue—one that can only be sorted out through trial and error or by recommendations, reviews, and word of mouth.
If you happen to live in a medical or recreational state where dispensaries are allowed to sell clones, then you’re in luck. Clones offer many advantages over seeds, including shorter grow times, more stable development and a better guarantee of genetic lineage (as it’s less likely that a dispensary will be misinformed about the strains it’s growing and selling). On the flip side, when buying clones, be sure to check carefully for signs of pests and diseases. Take a magnifying loupe along for the purchase, and check the undersides of leaves and dangling roots for mites, thrips or other insects. You should also check for white residue such as powdery mildew or browning molds like botrytis.
Whether you decide to grow from seeds or clones, a good rule of thumb is to keep a mother plant of any strains that you know you like. So if you’re buying a clone, for example, get two and keep one in the vegetative stage (18 hours of light and six hours of darkness per day) while you grow out and test the other one. If it’s a winner, then you can continue to take your own clones off the mother plant, which must be kept in the vegetative stage. Of course, this solution may require setting up a second small garden space, but after reading this article, you now have a pretty good idea how to do that.
Follow Nico on social media: @Nico_Escondido (Twitter) and @Nico_High_Times (Instagram). Got questions? E-mail ’em over to Nico at NicosNuggets@hightimes.com and he’ll answer them on HighTimes.com.
Related: 10 Tips for Growing Eco-Friendly Cannabis
Keep up with all HIGH TIMES’ grow coverage HERE.


0 DL LiNKS:
Post a Comment
Add yours...